Brush Design
Contents
The ideal digital brush and the like...
In past years I have had the opportunity to study at length many aspects of the construction and typology of brushes for Gimp. The initial focus was to understand whether we need so many types of brushes and based on this assumption, a kind of vademecum of the ideal digital brush was created.
With long threads of emails between Mozart Couto and L'ubomir Zabadal, interesting conclusions were reached about brushes in digital painting. Some of the conclusions mentioned below were researched in detail, others less so, but in general they all proved to be quite valid in terms of guiding the use and quantity of brushes that we should have in our bookstore.
About Digital Brushes in Gimp
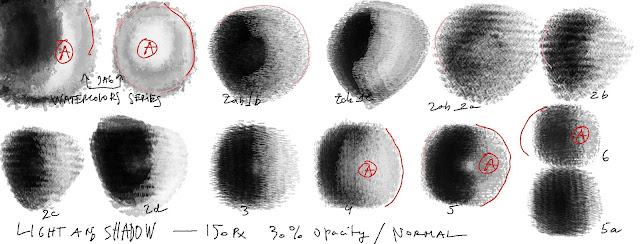
- Round brushes (raster or not) are ideal for working on "chiaroscuro", midtones and strokes. This is not great news, but when we apply this concept to brushes designed to create textures, this has improved the behaviour for general use of this type of brush, both in "chiaroscuro", in halftones and even for drawing strokes.
- Brushes made without antialiasing significantly improve the definition of edges and blemishes in general (i.e. made with the 'pencil' instrument which by nature is antialiasing). The application of this type of brush is sometimes linked to certain types of presets, and preferably we noticed that they are ideal for the airbrush instrument (Zabadal's tip), or with a low opacity combined with the 'multiply' blending mode, this emulates a lot as well as typical highly technical stains (watercolour, acrylic and oil).
- Animated brushes, .gih, must contain a maximum number of 3 to 5 levels and ideally 1 to 2 dimensions (I will have a way to talk more about this argument [?!].
- The ideal size of brushes, depending on the type of use, can vary from 32 to 512 px. For example, a brush that will be used to emulate pencils or dry mediums for the line can maintain a maximum of 64 pixels (see the illustrative table below). In any case, there is always a compromise between the size and the quality of the stroke or stain... imagine a brush designed for tracing or painting with 256 pixels in diameter, when we reduce its diameter, the stains become more compacted and therefore we have a decrease in luminosity (it becomes more contrasted), when we increase its diameter, the spots become diluted and their effect is less defined.
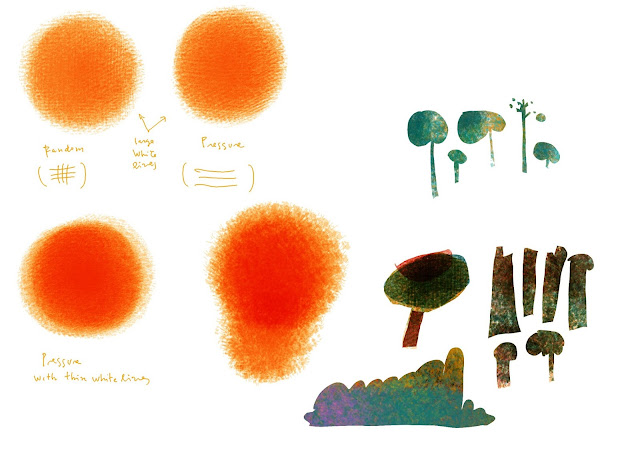
- The ideal digital brush can be used in many ways: increasing or decreasing its size, increasing or decreasing spacing, for strokes or for colouring or toning. There is a good chance that we will build brushes and sets with such characteristics and this would imply a notable decrease in the number of brushes in our bookstore. At the same time, it would provide a better command of the instruments and functions of digital painting programs.
Identifying the Brush Usage
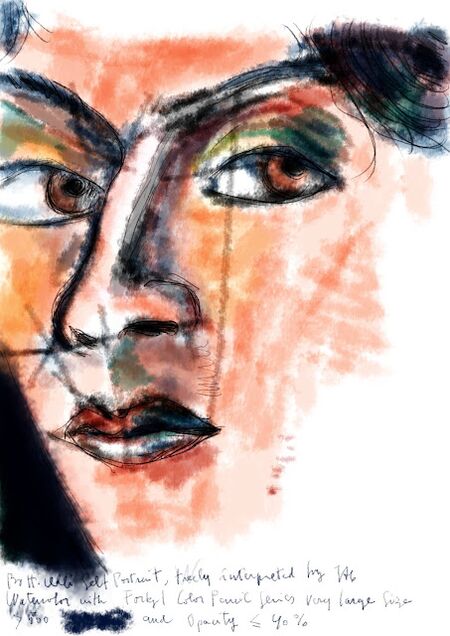
The concept that a digital brush can be used in many ways is in line with what happens in the real world... where the same brush can be wielded for many uses, techniques and effects. In the digital world, this possibility has been notably expanded, enabling unusual and unique variations and uses of digital painting. For example, by enlarging and spacing out a spot designed for the line, typical of a pencil, we can have a very interesting brush for creating texturing or even emulating traditional pictorial techniques (see this post written on my blog about emulating watercolour from a brush designed for pencils).
Conclusions
Following this series of conclusions, it seems that the round brush must be the most important characteristic of the types of brushes in our library. This has the widest range of possibilities, from lines, colouring, toning, texturing etc.
"I understand why in digital painting, painters work in separate steps (1. modelling, 2. texturing). Texturing makes the image shallow. It is much easier to create a "three-dimensional" image without textures and add the texture in the end. I know that a real texture did not exist for a long time in the history of traditional painting as well." L'ubomir Zabadal.
In Gimp it is possible to transform a round brush into a flat brush using the Aspect Ratio slider, present in the Tool Options. In this sense, it is interesting to master this possibility of Gimp, rather than having flat brushes. This is not a general rule, imagine that you mainly use flat brushes and very few round brushes... the brush collection strategy you will have will be a little different.
A personal criticism I make about many of my sets is that they contain brushes that are very similar to each other... this makes it difficult for the end user to use and understand. Many times when creating our brushes we can perceive subtle nuances... but the same does not happen when the same brush is used by another user.
So the secret is to simplify as much as possible and try to exemplify the uses of the same brush. In this sense, I would advise you to carry out brief tests with your own sets trying to understand how they respond to the three basic functions of the preset: diameter, spacing and opacity.
The most interesting tests, in my opinion, are comparing diameter as a function of spacing, and diameter as a function of spacing combined with opacity. The recommended combination of values for test parameters would be the original value, half and double this.
These tests will show how the same brush could be used in different ways and for different effects than those originally intended.


